
If you're maintaining an open source project, one of the best ways to get leads and engage with your community is by looking at your stargazers. Stargazers are those who “like” your project, or just use stars as a way to bookmark your project and come back to it later. They're expressing interest in your project.
When I was building my open source project, we made an effort to go through our stargazers every day, reach out to new stargazers, ask them for feedback on the project, and invite them to our OSS community. Doing that every day, we grew our community, encouraged new contributors, even made some local friends in the city.
But doing that by hand every day was a ton of effort. GitHub doesn't make it easy to scan for stargazers and enrich information. I spent this week going through some of the ways to achieve this. We'll set up a workflow that can scan your repo every morning, enrich the contacts and deliver them straight to you as a desktop notification with Freestyle. Set up in less than 5 minutes.
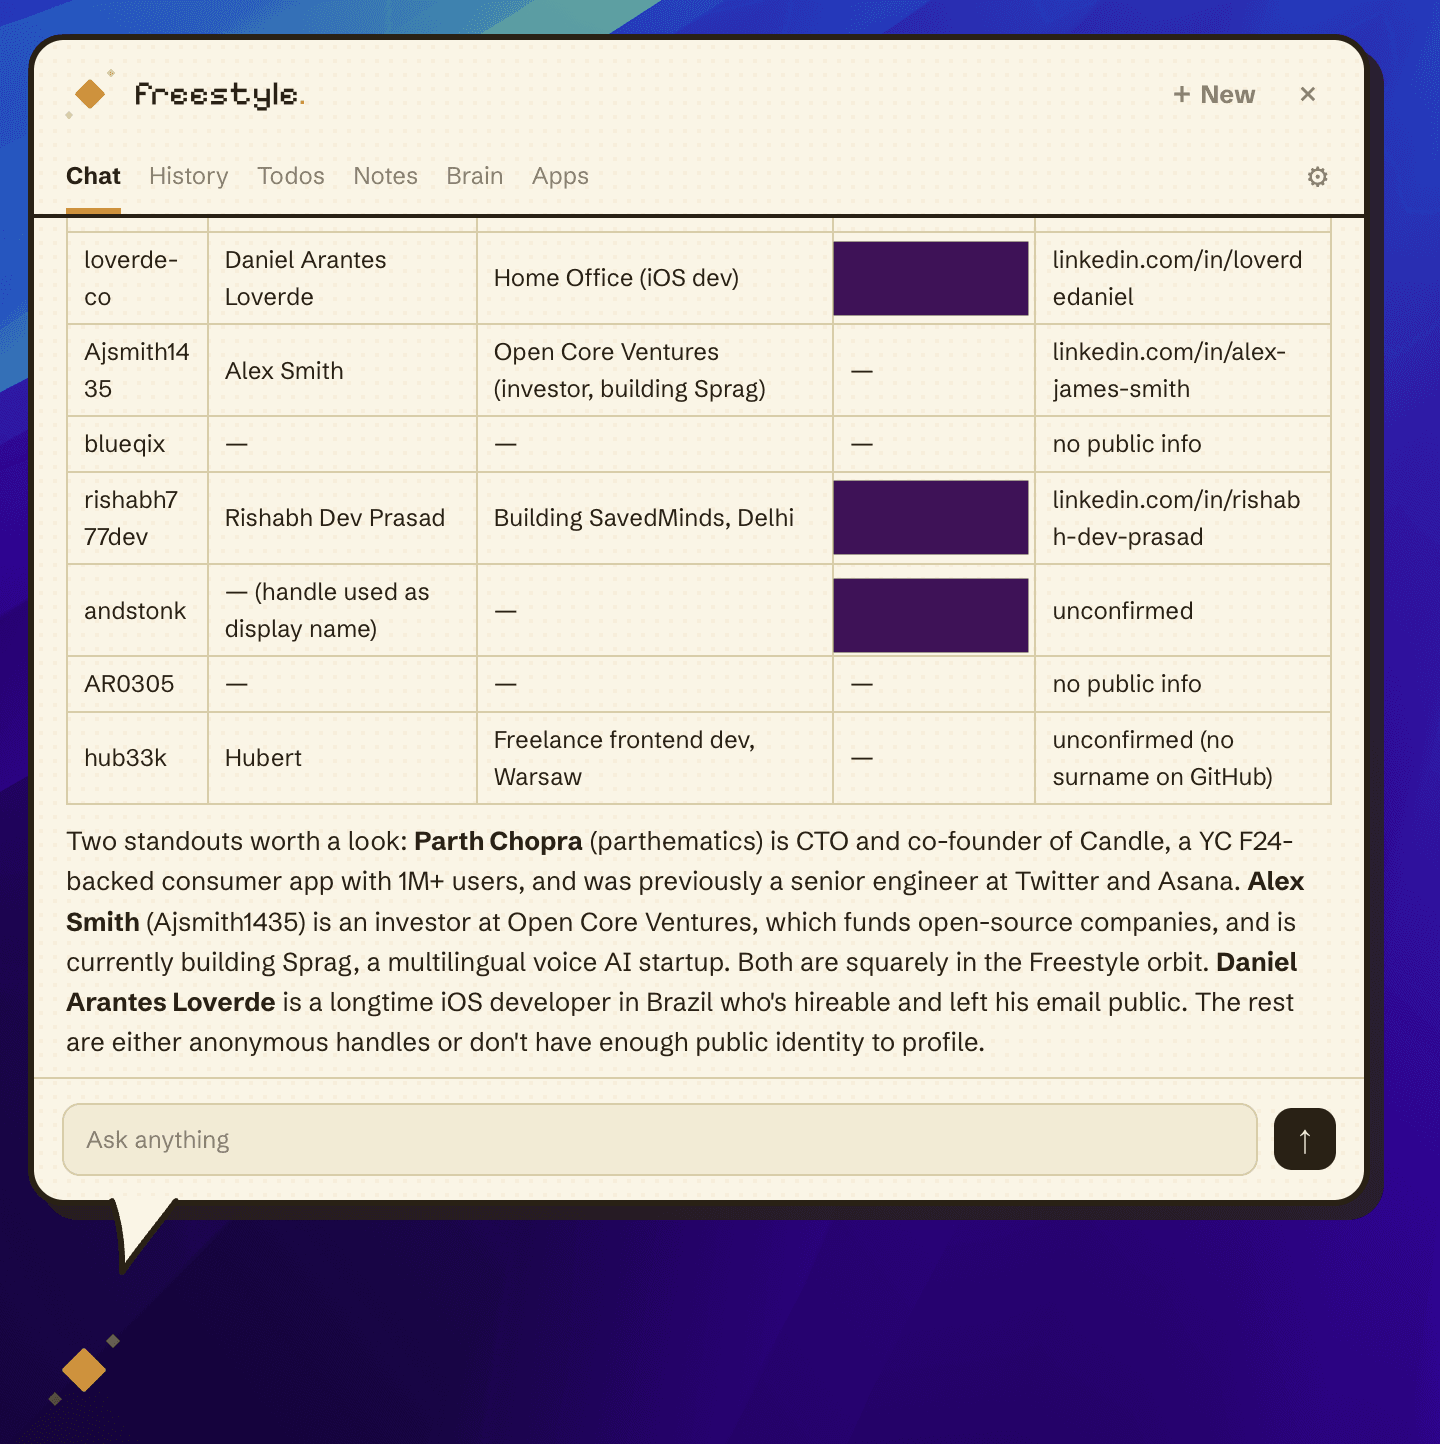
Claude and ChatGPT can't do this well
Both Claude and ChatGPT are able to retrieve this information. On both, you have to have the GitHub gh CLI command on your local machine. The GitHub connectors you install in their connectors store do not have stargazing scraping capabilities.
Since the agents have to use the gh CLI, it means your computer has to be on with the agent open. If you shut off your laptop, the workflow won't run. You also have to actively prompt the agent to do the scraping, it doesn't do it for you on a schedule in the background.
You could also write your own script, but that's another thing you have to maintain. Another project on your desktop with a GitHub API key.
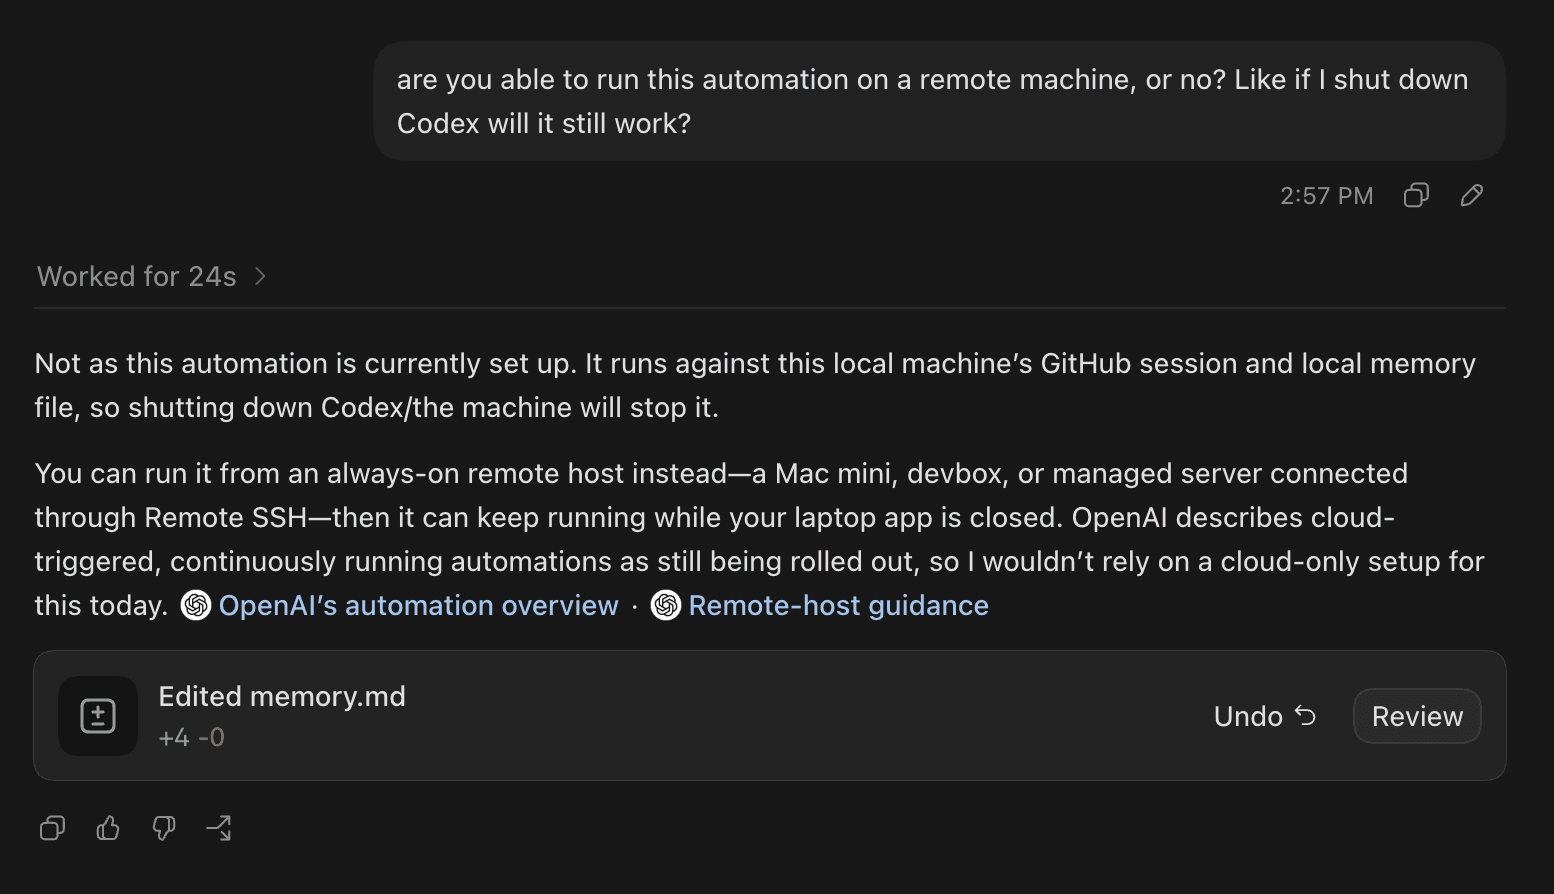
Notifications with Freestyle
Freestyle can scrape stargazers, enrich that user data, and notify you on your desktop, all on an automatic schedule.
Scraping and enrichment all happen on a remote machine, so it's not running CLI commands locally. This means notifications pop up even if you close your laptop, log in the next day too. We are going to be releasing our mobile app soon where you can receive the same smart notifications on your mobile device.
Freestyle also stores memory. So it'll remember the stargazers that it found yesterday, and if you don't have any new stargazers today, it won't bother you.
How to set up GitHub stargazer notifications on Freestyle
The entire setup process should take no more than 5 minutes. Here's the entire walkthrough:
- Download the Freestyle desktop app, create an account, and get through the tutorial.
- Go to the Apps tab and make sure that you have the GitHub app connected. Note that you can only scrape stargazers on repositories that you own / have access to.
- Create a new chat thread, copy the exact prompt below, and paste it in there. Replace <YOUR REPO> with your repo name (freestyle-inc/freestyle). So we can customize the notification as needed. Freestyle will automatically create the scheduled event for you:
I want you to create a scheduled task that runs every morning at 9am with the exact prompt below:

Watch <YOUR REPO> on GitHub and profile newly starred users. Key gotchas: (a) the stargazers API returns stars in chronological order (oldest first) — the MOST RECENT stars are on the LAST page, never page 1; (b) within the last page the list is STILL oldest-first, so the most recent stars are the TAIL of that page, not the head.

Load the last 20 stargazers, You should look at how many stars the repo has and calculate what the last page number should be.

Never guess or invent what an API call returned — if a call comes back empty/pruned, retry it or stop.

Exact workflow:

1. connector_search_tools with the query "list the most recent stargazers of a repository", toolkit github. Use the returned GITHUB_LIST_STARGAZERS and GITHUB_GET_A_REPOSITORY slugs
2. Call GITHUB_GET_A_REPOSITORY with { owner: "xx", repo: "yy" } to get stargazers_count. Call it N.
3. Load ONLY the last page with 20 items: compute page = ceil(N / 20) and call GITHUB_LIST_STARGAZERS with { owner: "xx", repo: "yy", per_page: 20, page: ceil(N/20) }.
4. Take the LAST 10 users of that page as the 10 most recent stargazers (newest = rightmost/last on the page).
5. brain_read notes/freestyle-stargazers.md. If the recorded usernames are identical to the 10 fetched, stop — nothing new, do not notify.
6. connector_search_tools with the query "get a single GitHub user's public profile with name, company, blog, email", toolkit github → GITHUB_GET_A_USER. For each of the 10 users call it with { username: "<handle, exact casing as returned>" }. Collect name, company, blog, email, location, hireable. Emails only appear if the user opted in — most will be null, that's expected.
7. For every user with a real name or company on GitHub, web_search for their LinkedIn ("<handle> linkedin" or "linkedin <name> <company>"). Collect the linkedin.com/in/<slug> URL. If ambiguous (multiple plausible people, none confirmable from the GitHub profile), label it unconfirmed and move on.
8. notify the user with the rundown: for each of the 10, "handle — name, company, public email, LinkedIn URL" on one or two lines; say "no public info" for users with nothing.
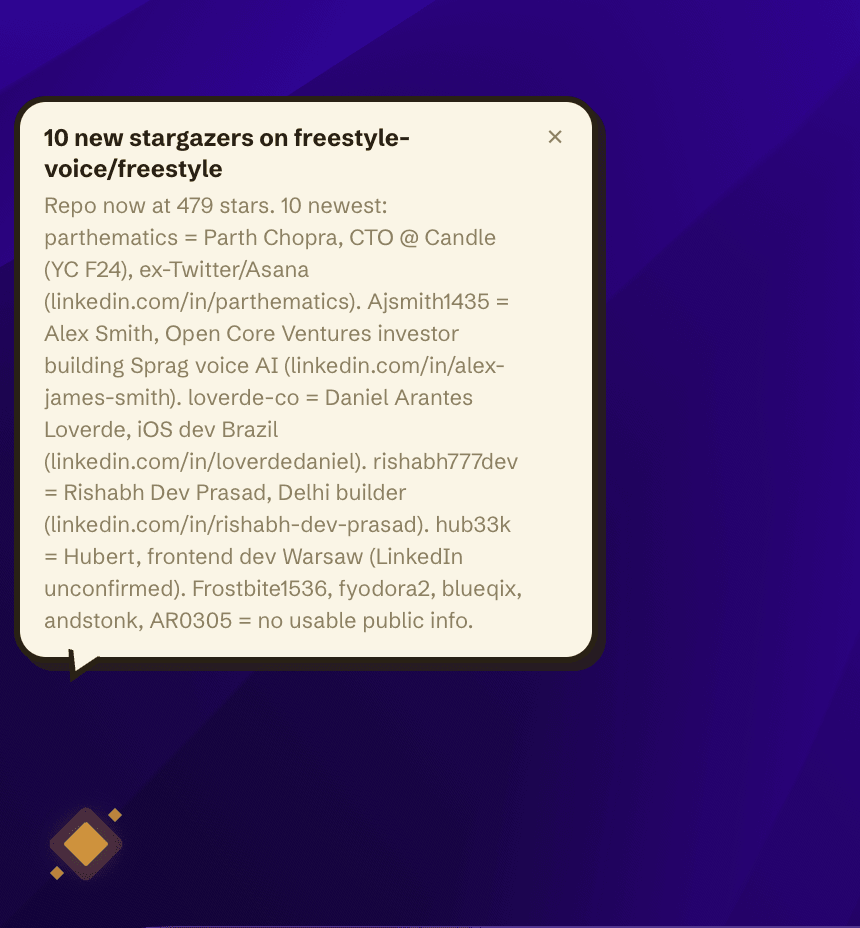
9. In the chat thread, write down your findings in an organized markdown table.- To confirm that the scheduled task was created properly, go to the Brain tab. You should see the new scheduled task as the first thing on that list.
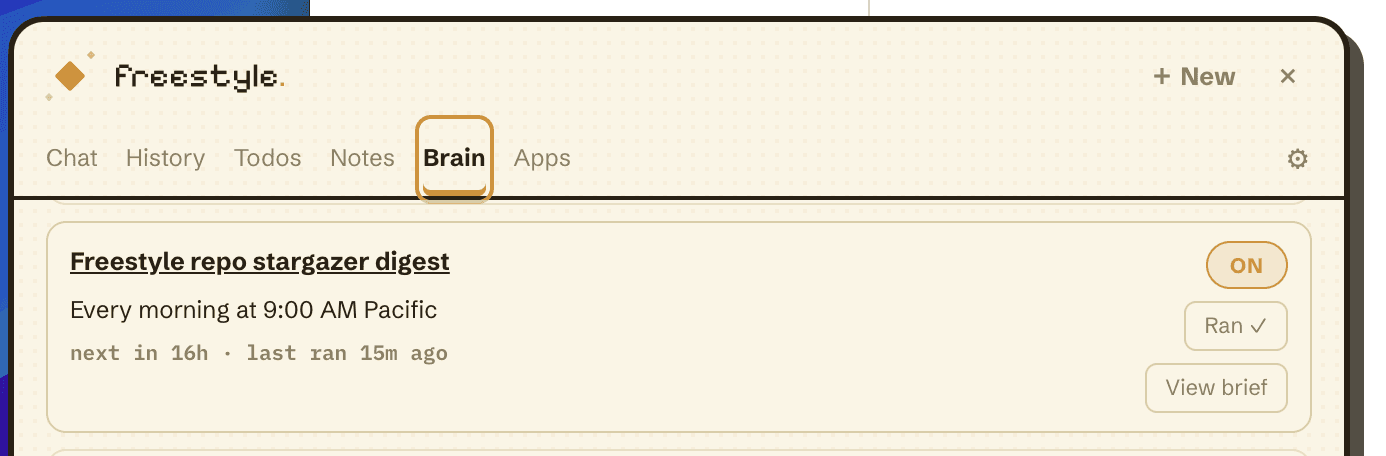
That's literally it. You should start seeing notifications pop up on the next day. If you want to test out your notification manually, you can hit the “Run now” button.


